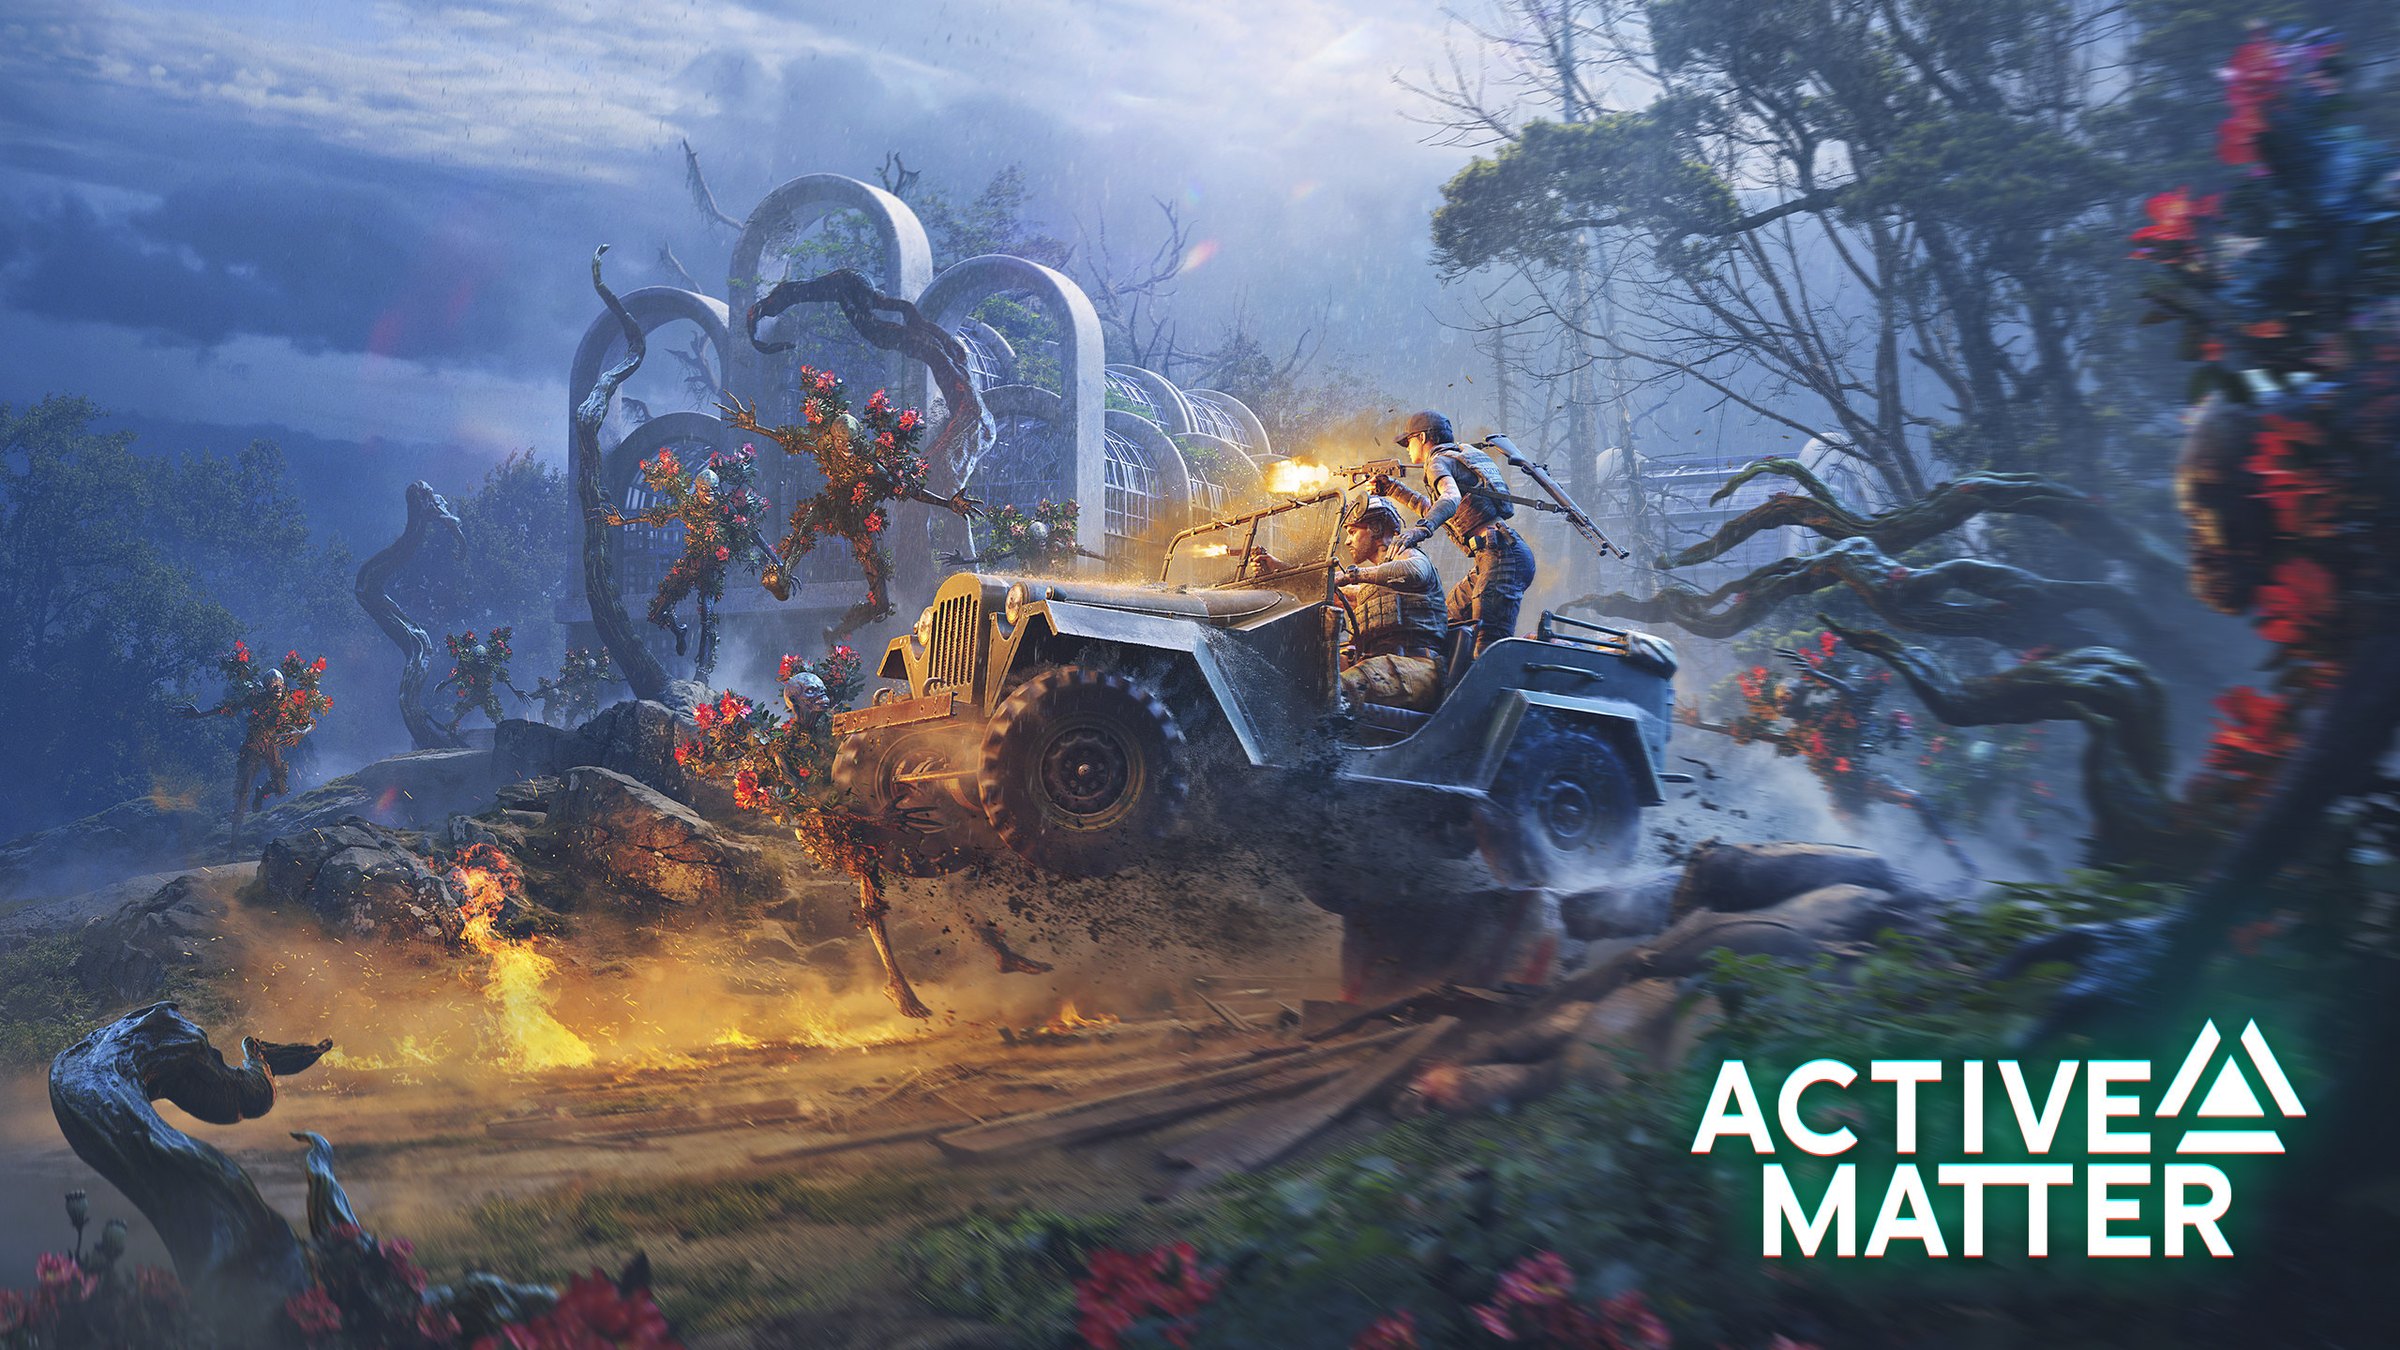
Mastering the Active Matter Unstable Zone: A Raid Guide
Learn how to survive the active matter unstable zone with our comprehensive guide on extraction raids, anomalous entities, and tactical gear strategies.
Video Guide
Unstable Zone In Active Matter Is *INTENSE!*Table of Contents
Entering the active matter unstable zone is not for the faint of heart; it is a high-stakes journey into a fractured multiverse where the laws of physics are merely suggestions. In this hardcore extraction shooter, players must navigate environments torn from different realities, facing both supernatural entities and desperate human operatives. To survive the active matter unstable zone, you need more than just quick reflexes—you need a deep understanding of how these anomalies function and how to manage your resources before the safe zone collapses entirely.
Whether you are scavenging for rare weapon modifications or trying to extract with a pack full of Active Matter, the learning curve is steep. This guide breaks down the essential mechanics, tactical considerations, and community-proven strategies to ensure you don't become just another casualty of the multiverse.
Understanding the Active Matter Unstable Zone Mechanics
The core of the gameplay loop revolves around raids into quantum-unstable territories. These zones represent fragments of our world—Africa, North America, and Eastern Europe—that have been corrupted by the mysterious substance known as Active Matter. Unlike traditional shooters, the environment itself is an enemy.
One of the most critical mechanics is the safe-zone collapse. In recent updates, developers have adjusted the speed of this collapse in specific areas like the Headquarters to give players a fairer chance at reaching extraction points. However, the pressure remains intense. According to community reports, many players fail not because of enemy fire, but because they lose track of time while looting deep within a hanger or power station.
Quick Strategy Overview
The unstable zone is defined by three factors: zone collapse speed, anomaly density, and player-spawn proximity. Success requires balancing aggressive looting with a disciplined path toward the extraction portal.
The Dynamics of Zone Collapse
The collapse isn't just a barrier; it’s a lethal shift in reality. As the zone shrinks, the density of anomalies increases, making movement significantly more hazardous.
Feature
Impact on Gameplay
Strategic Adjustment
Collapse Speed
Determines the "looting window" available to players.
Increases environmental damage and movement restrictions.
Carry tactical beacons to mark safe paths.
Extraction Portals
The only way to save progress and gear.
Scout extraction points at the 10-minute mark.
Survival Guide: Dealing with Anomalies and Entities
Inside the active matter unstable zone, you will encounter "things that should not exist." These SCP-inspired entities follow specific rules that you must learn to survive. For instance, the "Distorted" are sensitive to sound and movement. Recent patches (Update 0.4.0.84) have adjusted their behavior so they no longer wake each other up in a chain reaction, but they remain deadly if you are caught lacking.
Gravity Anomalies and Environmental Hazards
Gravity anomalies are common at construction sites and industrial hangers. These zones twist space, making verticality a double-edged sword. While you can use them to get "hoops like Michael Jordan" (as one player experience suggests) to reach high-tier loot, a misstep can lead to instant death or leave you vulnerable to snipers.
Key Entity Types to Watch For:
The Invisibles: These entities are nearly impossible to see but leave distinct footstep sounds. Always wear high-quality headsets to track their movement.
Alpha Mimics: These predators are known for attacking through walls in older versions, though recent fixes have limited their reach. They often guard High-Priority Cargo.
Robot Dogs: While often used as companions, wild versions or those belonging to other operatives can track you across long distances.
Combatting the Distorted
When engaging the Distorted, stealth is your best friend. Community members often recommend using a "London handshake"—a term for a melee takedown—to conserve ammo and avoid drawing the attention of other players in the vicinity. If you must use firearms, ensure your weapon is equipped with a tactical flashlight to disorient entities in dark hangers.
Tactical Gear and Loadout Optimization
Your survival in the active matter unstable zone is heavily dependent on your equipment. The game offers various editions, from Standard to Elite Squad, each providing a different starting point for your arsenal. However, the real power comes from customization and the Replicator system.
Choosing the Right Armor and Weapons
Armor plates come in different sizes and materials (Steel, Ceramic, Titan). While Steel plates are cheaper to repair, Titan plates offer the best protection against high-caliber rounds from weapons like the PKM or M4A1.
Armor Type
Durability
Repair Cost
Best For
Steel (S/L)
Moderate
Low
Budget raids / PvE farming
Ceramic (S)
High
Moderate
General PvPvE
Titan (L)
Very High
High
High-stakes Unstable Zone Raids
Weapon Modifications and the Replicator
The Replicator is your primary tool for progression. It allows you to craft specific items recovered from the zones. Note that crafting times for high-tier items, such as the SHA or S350F thermal scopes, have been increased to 24 hours in recent updates to maintain the game's hardcore economy.
Recommended Early-Game Loadout:
Primary: M4A1 or SOK-94 Vepr Carbine (reliable and modular).
Modification: Tactical Flashlight (essential for dark zones).
Scope: PSO AK 4.0x or EXPS3 Collimator for mid-range engagements.
Utility: First Aid Kits and Painkillers (to ignore the effects of minor anomalies).
Pro Tip: Flashlight Management
Tactical flashlights are great for seeing in the dark, but they act as a beacon for other players. Bind your flashlight toggle to an easy-to-reach key and only use it in short bursts when searching containers.
The Economy of Extraction: Credits and Merits
Every successful exit from the active matter unstable zone brings you closer to upgrading your shelter and operative. The game uses a complex system of Credits, Prime currency, and Merits. Merits are earned through Harmonization Cycles and are crucial for long-term progression.
Managing Your Merits and Storage
Merits allow you to access higher Access Levels, unlocking better Replicator recipes and storage expansions. If you find yourself struggling with space, consider upgrading to the Active Matter Deluxe Edition to get immediate access to three storage expansions and additional replicator queue slots.
Refining and Shop Mechanics
A common mistake new players make is refining items purchased from the in-game shop. Be warned: Update 0.1.0.131 reduced the credit return for these items from 75% to only 15%. It is almost always better to use the gear in a raid rather than selling it back to the shop at a massive loss.
Action
Previous Return
Current Return
Recommendation
Refining Shop Gear
75%
15%
Avoid
Selling Raid Loot
Variable
Variable
High Priority
Replicator Fusion
High Cost
Reduced Cost
Recommended for Rare Items
Advanced Strategies for Unstable Zone Raids
To truly master the active matter unstable zone, you must think like a predator. This involves understanding spawn points and player flow. In maps like Ozernoe, new spawn points have been added to prevent "spawn camping," but you should still expect contact within the first three minutes of a match.
Positioning and Verticality
As seen in community gameplay footage, taking "early positioning" is vital. If you spawn near a power station, getting vertical on a scaffold or roof gives you a massive advantage. You can scout for other operatives moving across the street or toward the main hanger.
Common Tactical Errors:
Greed: Searching a body in the open while the fog is rolling in is a death sentence. As one veteran player noted, "I just wanted to search the body... that's GG."
Ignoring the Fog: The fog often precedes a zone collapse or a major anomaly shift. If visibility drops, head toward your extraction point immediately.
Static Play: Staying in one building for too long allows other players to flank you. Use the "London handshake" tactics to move quietly between covers.
Utilizing Drones and Robot Dogs
Scout drones like the "Harpy" are invaluable for clearing out buildings before you enter. Similarly, the "Juan-1" Robot Dog can assist in combat and successfully extract if they are near the player. These tools reduce the risk of being surprised by a "Distorted" lurking in a corner.
FAQ: Surviving the Multiverse
What is the most dangerous part of the active matter unstable zone?
The most dangerous aspect is the combination of the safe-zone collapse and gravity anomalies. While entities can be fought, the collapse is an inevitable force that will kill you if you don't reach an extraction portal in time. Always keep an eye on your timer and map.
How do I fix a weapon jam during a firefight?
Weapon jams are a realistic mechanic in the game. When your gun jams, you will hear a distinct metallic click. You must perform a clearing animation to get back into the fight. To minimize jams, keep your weapons repaired at the shelter and avoid using low-durability parts found in the active matter unstable zone.
Can I play Active Matter solo in the unstable zones?
Yes, you can enter raids solo, but it is significantly more challenging. You will face teams of operatives who can cover multiple angles. Solo players should focus on stealth, using suppressed weapons and tactical flashlights only when absolutely necessary.
What should I do if I am caught in a gravity anomaly?
If you are caught in a gravity anomaly, try to use the momentum to propel yourself toward stable ground. Avoid jumping repeatedly, as this can lead to unpredictable movement and fall damage. Some players use these anomalies to reach high-tier loot locations that are otherwise inaccessible.
How has the safe-zone collapse changed recently?
In recent updates, the developers slowed the speed of the safe-zone collapse in the Headquarters map. This change was implemented to make escapes easier for players who were getting trapped by the fast-moving reality shifts. However, other zones still maintain a high collapse speed, requiring efficient looting.
Is the Active Matter Deluxe Edition worth it for new players?
The Deluxe Edition provides a significant head start, including the "Reaper" and "Knight" shells, multiple storage expansions, and rare Replicator recipes like the "Bonecrusher" quad bike. For players looking to spend a lot of time in the active matter unstable zone, these quality-of-life improvements are highly recommended.